Blend Materials
Mixes two whole materials across a surface by a mask texture, so one mesh can wear two looks.
The Blend Materials node takes two materials and a mask. Where the mask is bright the surface wears Material B; where it is dark, Material A.
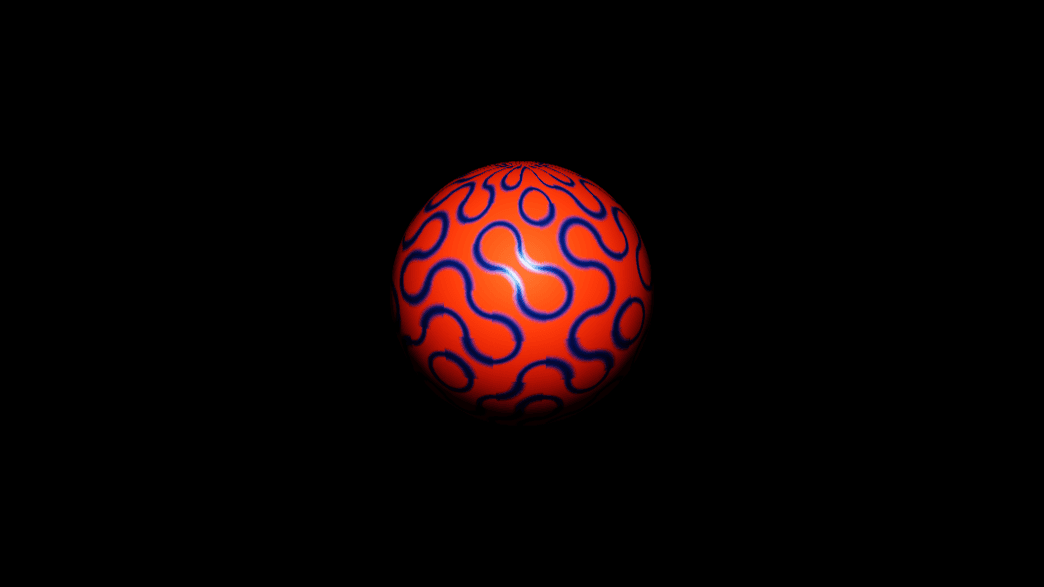
- Every map and value of both materials blends, not just the colour
- Mask Channel picks which channel of the mask drives the mix
- Found in the node graph under Surfaces → Materials
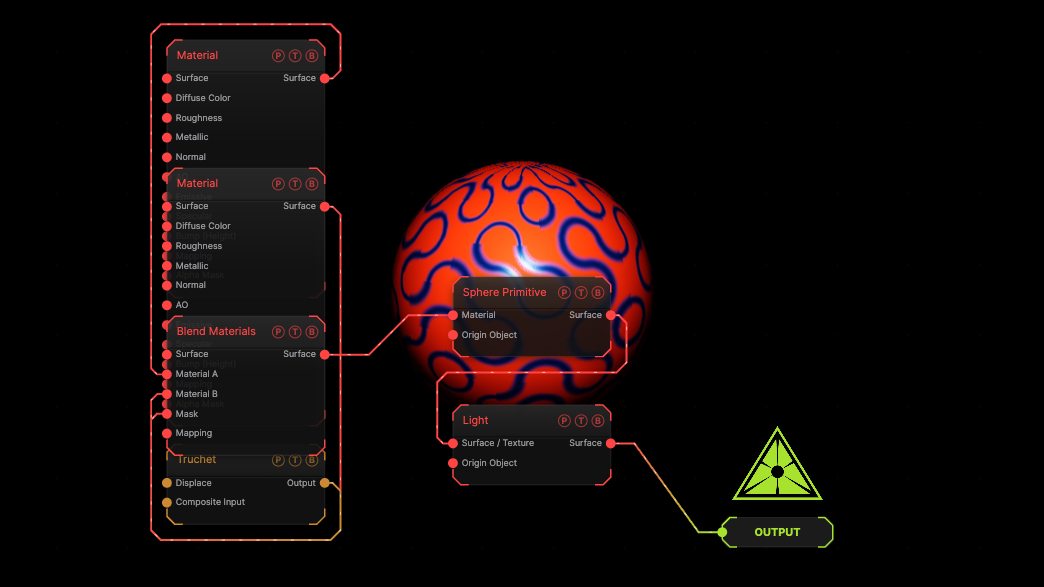
The image on the right is the example patch itself. Drag and drop it onto the app, or load it with File → Load, to open the full graph. An orange matte material and a blue metal are mixed on a sphere by a Truchet mask.
Inputs and outputs
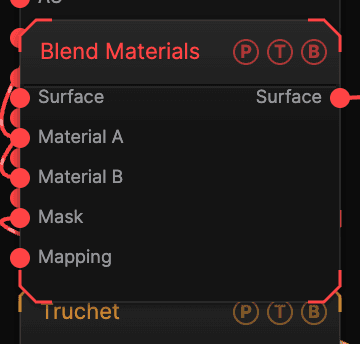
| Port | Type | Purpose |
|---|---|---|
| Surface | Surface | Optional. Geometry flowing through, the way a plain Material accepts it. |
| Material A | Surface | The material where the mask is dark. |
| Material B | Surface | The material where the mask is bright. |
| Mask | Texture | Any texture. Projected by the wired Mapping, or by the default projection. |
| Mapping | Surface | A Mapping node for the mask. |
| Surface | Surface | Wire it into a mesh's Material port. |
Parameters
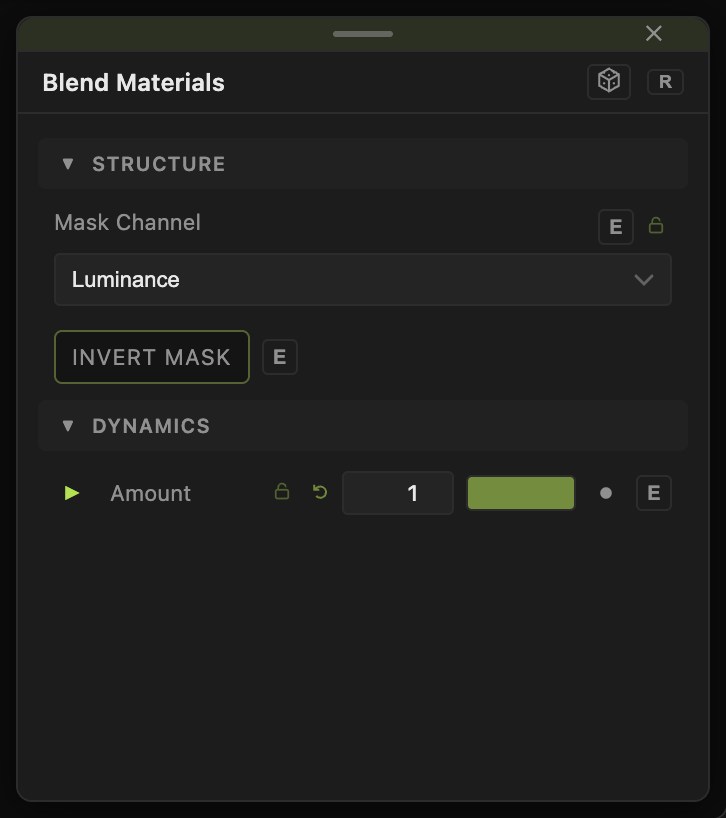
- Amount (default 1) — overall strength of the blend toward B. 0 shows A everywhere.
- Mask Channel — Luminance (default), Red, Green, Blue, or Alpha.
- Invert Mask (default off).
Amount carries a per-parameter animation bar, so a material change can be faded in.
Examples
Rust patches — a metal into A, a rough brown material into B, a Worley mask with Threshold Min raised.
Reveal — any two materials, a Gradient mask, and Amount keyframed from 0 to 1.
Troubleshooting
Only one material shows — the mask is flat. Check its contrast, and try another Mask Channel.
The mask is stretched — wire a Mapping node and choose a projection that suits the shape.